
Quickstart: your first render
Five steps from a photo of your car to a photoreal before/after. The first render takes about a minute; every one after that is faster because your project and assets are already set up.
Step by step
Open your studio
Sign in and go to app.viztunr.com/personal. The studio is created automatically with your account; if the sidebar shows the shops view, use the Personal switch at the top to change context.
Create a project
Hit New project on the overview (or the + Project button in the sidebar) and give it a name like “E92 M3 build”. A project keeps every render of one car together, so make one project per build.
Drop in your car photo
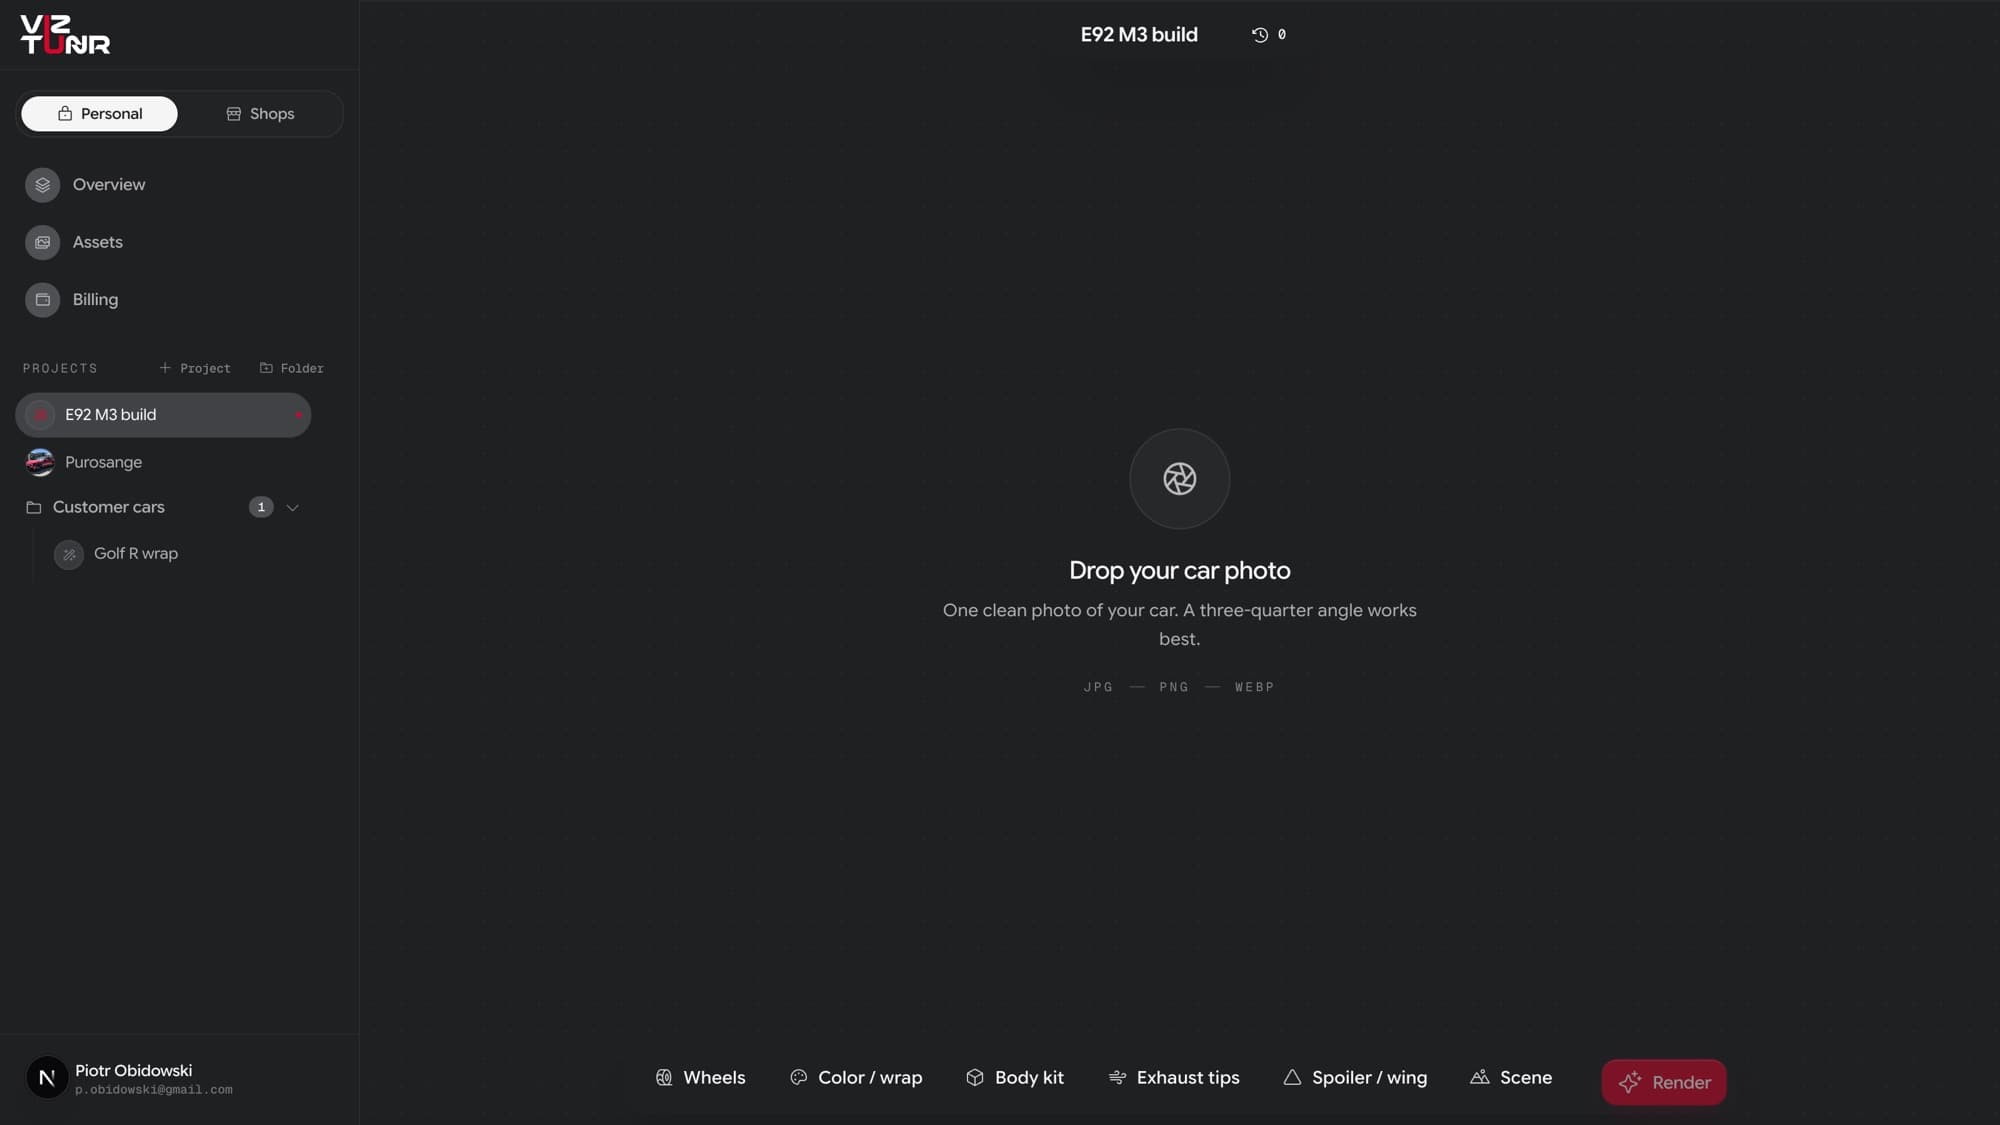
The editor opens on a drop zone. One clean photo of the whole car works best, ideally a three-quarter angle in good light. JPG, PNG, and WEBP are supported.
Pick what to change
The bar along the bottom has six categories: Wheels, Color / wrap, Body kit, Exhaust tips, Spoiler / wing, and Scene. Open a category, pick a reference image from your asset library, and optionally add a note for the AI. You can select options in several categories at once; they all go into the same render.
Render and compare
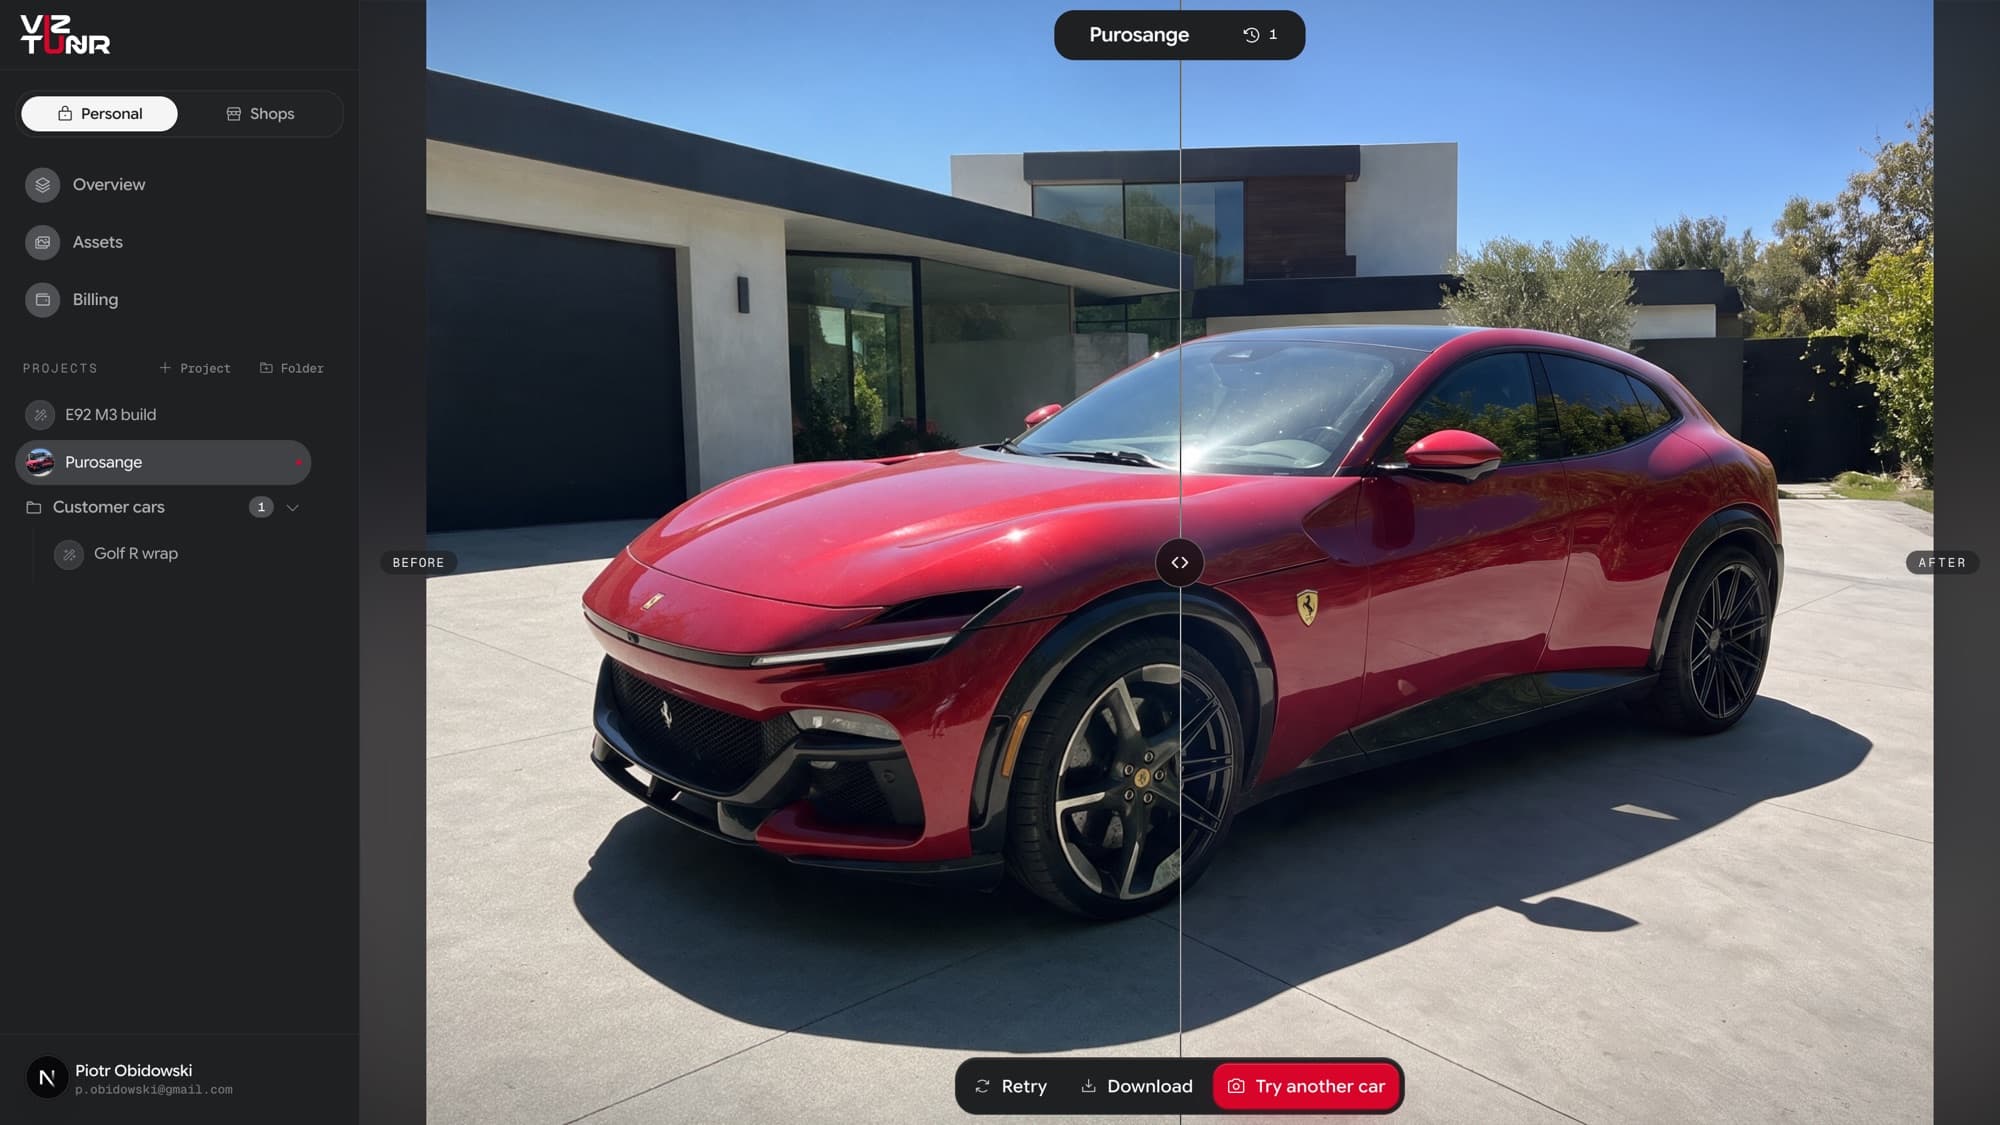
Hit Render. About a minute later the result lands on a before/after slider over your original photo. Drag the handle to compare, Download the image, or Retry if you want another take.
Where to go next
Set up your asset library so your go-to wheels and wraps are one tap away, and read the rendering guide to get the most out of combined options and AI notes.