
Asset library
The asset library holds the reference images the AI works from: the exact wheel you are eyeing, a wrap swatch, a body kit product shot. Save them once and pick them in any project.
Open it from Assets in the sidebar, or from the Manage library link inside any category panel in the editor. Assets are grouped into the same six categories the editor uses: Wheels, Color / wrap, Body kit, Exhaust tips, Spoiler / wing, and Scene.
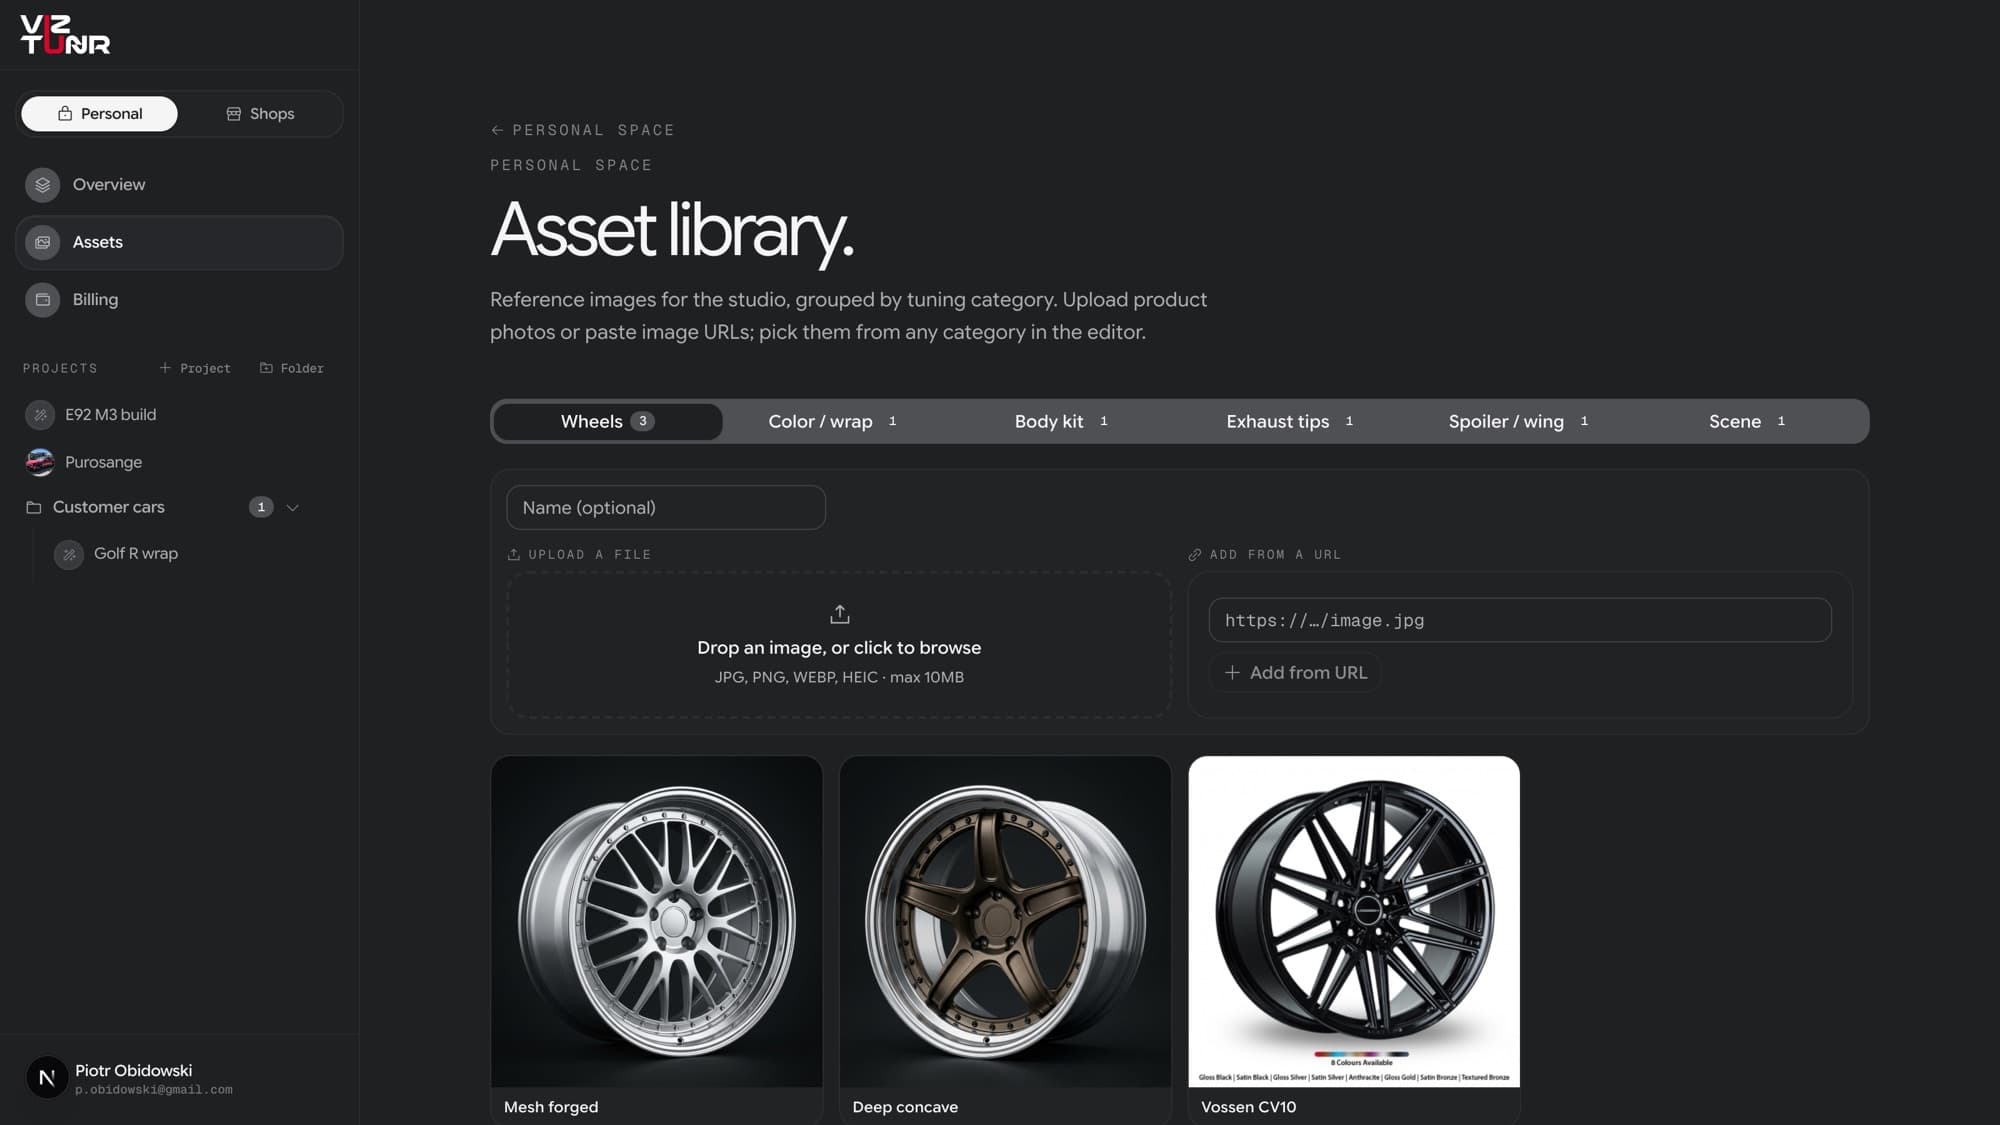
Adding assets
Pick the category
Upload a file, paste a URL, or add a color
Name, tag, and add notes
Finding things in a big library
- Search by name or tag, or tap the tag chips under the search box to narrow the grid.
- Star the assets you use most. Favorites sit at the top of every picker, followed by the assets you rendered with most recently.
- Select switches the grid into multi-select so you can tag, favorite, or delete many assets in one go.
Using assets in a render
- In the editor, open a category panel and tap an asset to select it as the reference for that category. The panel shows the asset’s notes so you know what the AI will read. Tap again to deselect, or use Reset to clear the panel.
- Each panel has the same search, tag chips, and favorites toggle as the library, so a category with hundreds of wheels is still two taps away from the right one.
- The library is personal and shared across all your projects: save a wheel once, try it on every car you photograph.
- Clean product shots work best as references: the part on a plain background beats a photo of it already mounted on another car.
Factory colors
The Color / wrap panel ships with a searchable list of iconic factory paints, grouped by maker: Nardo Grey, Aston Martin Racing Green, Miami Blue, Yas Marina Blue, and dozens more. Picking one sets the hex, the finish, and the color’s name in the prompt, so the AI paints the shade you mean rather than a nearby one. The same list sits at the bottom of the library’s Color / wrap tab: hit Save on any of them to copy it into your own library, then add a note with the wrap film that matches it.