A "Try on your car" button on a wheel product page is one link. It needs no app, no script on your page and no catalog sync. You put the link next to "Add to cart", your template fills in the product photo and name, and a shopper who clicks it lands on a page that already knows which wheel they want to see.
This guide shows the exact link, the setting that trips up most Shopify stores, copy-paste versions for Shopify and WooCommerce, a prompt that lets an AI agent do it for you, and the error screens you might hit while testing. Most shops are done in an evening.
What the button actually is
A normal link with the product's image in the URL. Here is the HTML VizTunr generates for a shop, with
your-shop replaced by your own shop's address:<a href="https://app.viztunr.com/s/your-shop?op=wheels&ref=PRODUCT_IMAGE_URL&label=PRODUCT_NAME"
target="_blank" rel="noopener">
Try on your car
</a>
| Part | What it does | Notes |
|---|---|---|
op | The kind of part: wheels, color, spoiler or exhaust | Required |
ref | The product photo the render copies | Full HTTPS image URL, URL-encoded, on a domain you allowed |
label | The product name shown to the shopper | Optional, URL-encoded |
finish | For wraps only: gloss, matte, satin, pearl, metallic, carbon or chameleon | Optional, helps when the swatch photo is ambiguous |
Because the link carries everything, there is nothing to keep in sync. Add a new wheel to your store and its button works the moment the product page exists, as long as its photo sits on a domain you allowed.
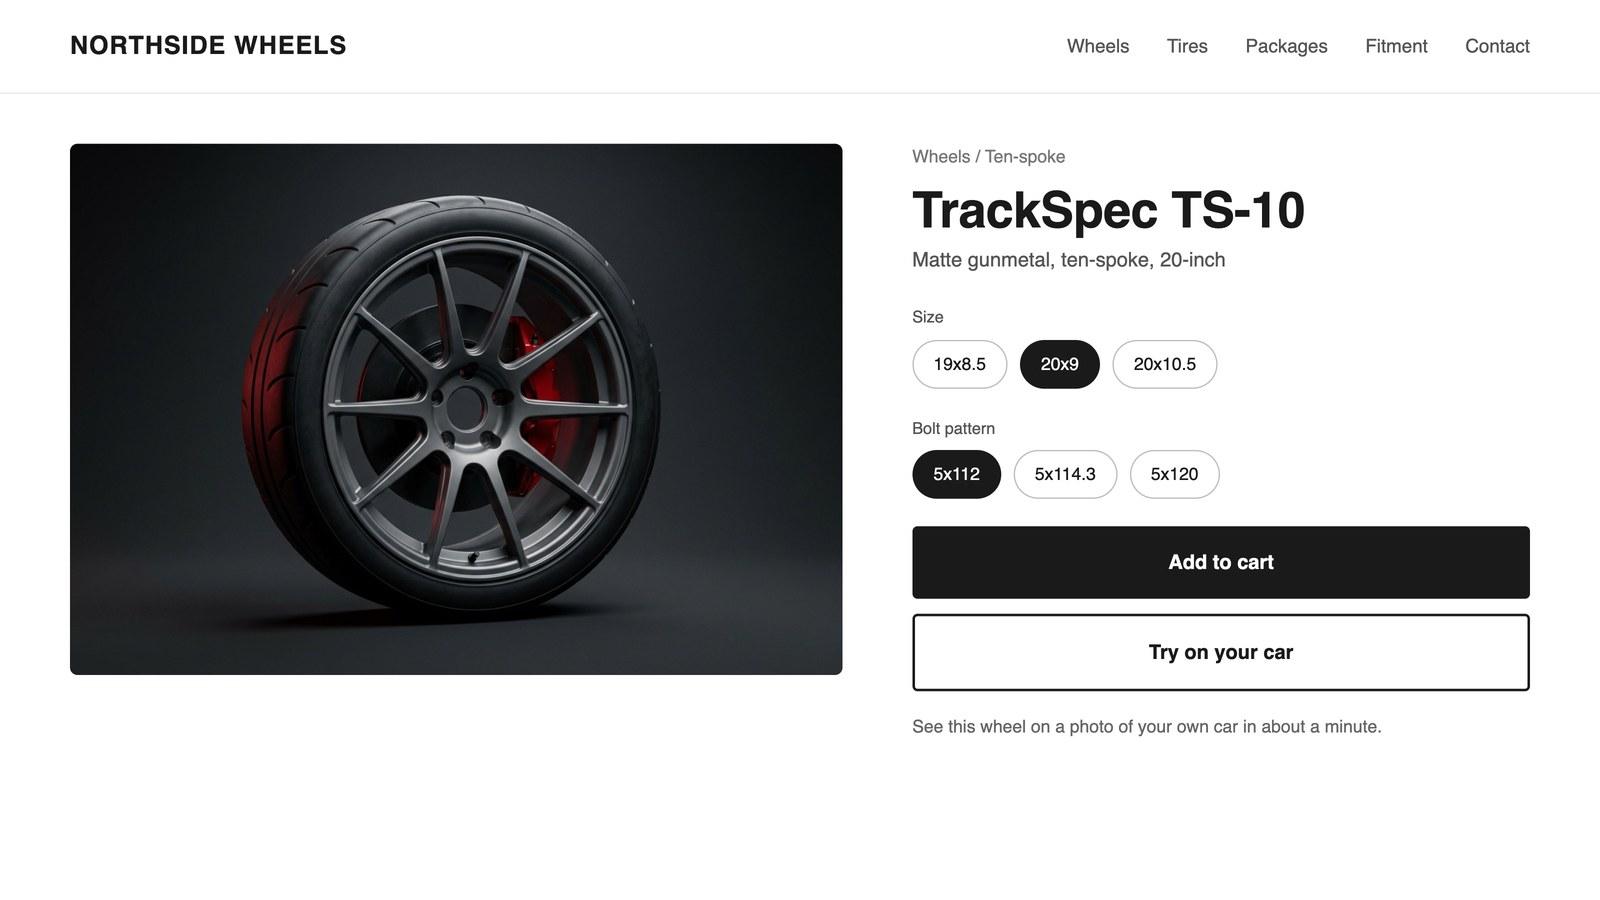
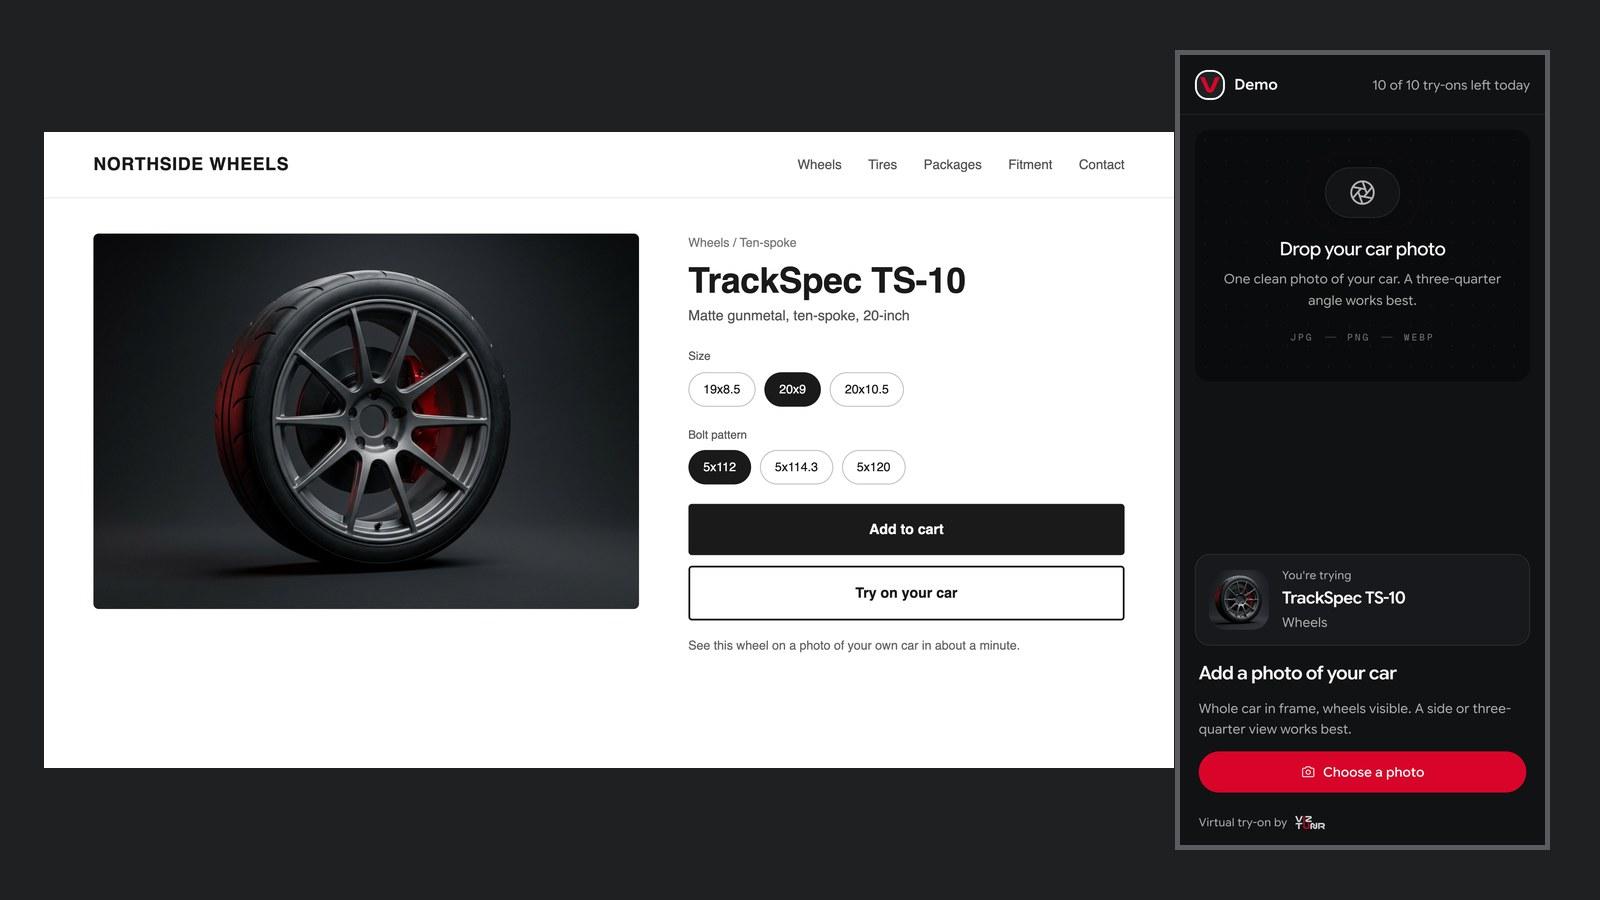
An example product page (sample shop) with the button as a secondary action under "Add to cart".
Step 1: Allow your image domains
VizTunr only renders product photos from domains you list, so nobody can run someone else's catalog on your account. To find yours, open a product photo in a new browser tab and look at the host name in the address bar.
Shopify stores should add both of these, because themes can serve the same image from either:
cdn.shopify.com- your store's own domain, such as
yourstore.com
The Liquid filter used below often returns an address on the store's own domain, which is why allowing only the CDN can leave you with a broken button. WooCommerce images usually sit on your own domain or on your image CDN. Subdomains of an allowed domain are covered automatically.
While you're in the setup checklist, complete the "Pick what you sell" step. Your choices fill in the link builder and the AI prompt further down.
Step 2: Add the link to your product template
Shopify
Use a Custom Liquid block, so you don't have to edit theme files. In your admin, open Online Store, then Themes, then Customize. Switch to the product template, add a Custom Liquid block under the buy buttons, and paste this:
{% assign try_on_image = product.selected_or_first_available_variant.featured_image | default: product.featured_image %}
{% if try_on_image %}
  {% assign try_on_ref = try_on_image | image_url: width: 1600 | prepend: 'https:' | url_encode %}
  <a class="button button--secondary"
    href="https://app.viztunr.com/s/your-shop?op=wheels&ref={{ try_on_ref }}&label={{ product.title | url_encode }}"
    target="_blank" rel="noopener">
    Try on your car
  </a>
{% endif %}
Three details matter:
prepend: 'https:'is needed because Shopify returns image addresses that start with//.- If tires or accessories share the same template, wrap the block in
{% if product.type == 'Wheels' %}and use your own product type. - The link uses the variant selected when the page loads. If your finishes are variants of one product, a shopper who switches finish after the page has loaded still gets the first image, unless a developer or AI agent updates the link when the variant changes. Separate products per finish avoid this.
WooCommerce
Add one small function to your child theme, or use a code snippets plugin. This prints the button after "Add to cart" on products in a
wheels category:add_action( 'woocommerce_after_add_to_cart_button', function () {
global $product;
if ( ! has_term( 'wheels', 'product_cat', $product->get_id() ) ) {
return;
}
$image = wp_get_attachment_image_url( $product->get_image_id(), 'full' );
if ( ! $image ) {
return;
}
$url = 'https://app.viztunr.com/s/your-shop?' . http_build_query( array(
'op' => 'wheels',
'ref' => $image,
'label' => $product->get_name(),
) );
printf(
'<a class="button alt" href="%s" target="_blank" rel="noopener">Try on your car</a>',
esc_url( $url )
);
} );
Change
wheels to the slug of your own product category.A custom site, or only a few products
Fill in the same link from whatever your template knows about the product, and URL-encode the image and name. In JavaScript that's
encodeURIComponent(imageUrl).If you only sell a handful of wheels, skip templates entirely. The "Build your try-on links" step in the VizTunr setup checklist makes one link per product, and you can paste those by hand into your page builder.
Or let an AI agent place it
The setup page generates a prompt with your shop address, categories and allowed domains already filled in. Paste it into Claude Code, Cursor or a Shopify assistant:
Add a "Try on your car" button to the product pages of my shop.

The button is a plain link that opens my VizTunr try-on studio in a new tab. Link format:

https://app.viztunr.com/s/your-shop?op=<category>&ref=<product-image-url>&label=<product-name>

Add it to products in these categories, using each product page's own image as ref:
- op=wheels (Wheels): Wheel hero shot, ideally the wheel face straight on, on white. A three-quarter studio shot works too.

Rules:
- ref must be an HTTPS image URL hosted on one of: cdn.shopify.com, yourstore.com. URL-encode it.
- label is optional: the product's display name, URL-encoded.
- The link opens in a new tab (target="_blank" rel="noopener").
- Style it like the shop's existing secondary buttons and place it near "Add to cart".
- Do not change anything else about the pages.
The version above is shortened for one category. Copy the real one from your setup page, because it uses your details. Then review the agent's change before it goes live, the same as any other edit to your store.
Where to put it, and on which products
Put it directly under "Add to cart", on every wheel you sell. Style it as a secondary button so it doesn't compete with the purchase, and keep the wording plain: "Try on your car" says what happens.
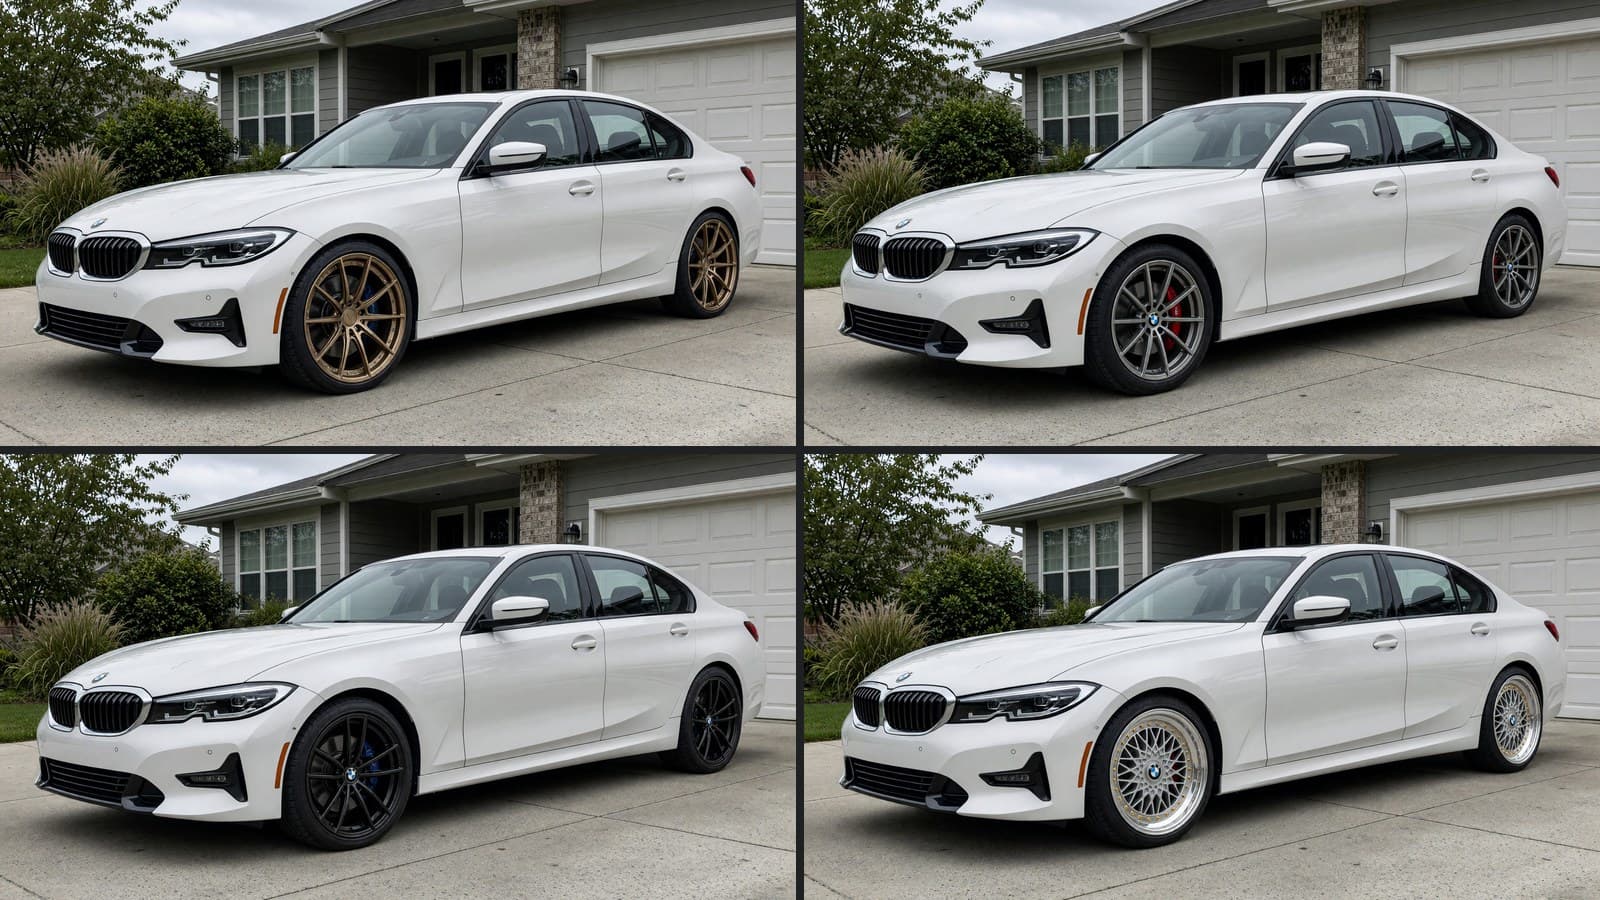
Don't start with one hero product. In our data from 1,053 shopper sessions, 59% of shoppers tried two or more setups and 47% tried two or more different products. A button on one page gives them nothing to compare with.
Other places the same link works:
- Each finish. Monerotec, a carbon-aero and forged-wheel maker, puts a link under the main image and in each finish card of its product page.
- Instagram and WhatsApp replies. When someone asks how a wheel would look on their car, send them that wheel's link.
- Quote follow-ups. Add the link for the wheel you quoted, so the customer can see it on their car before replying.
Step 3: Test it
Run through it once as a shopper, on your phone. It takes about two minutes:
- Open a product page and tap the button. A new tab should open with your shop's name and the right wheel already shown.
- Check the wheel name and photo against the product you came from.
- Add a photo of a car and tap the button to render it.
- Compare the render with the product photo, starting with the spokes. Our AI wheel render accuracy test shows what to look for.
- Try a second product and check that the car photo is still there.
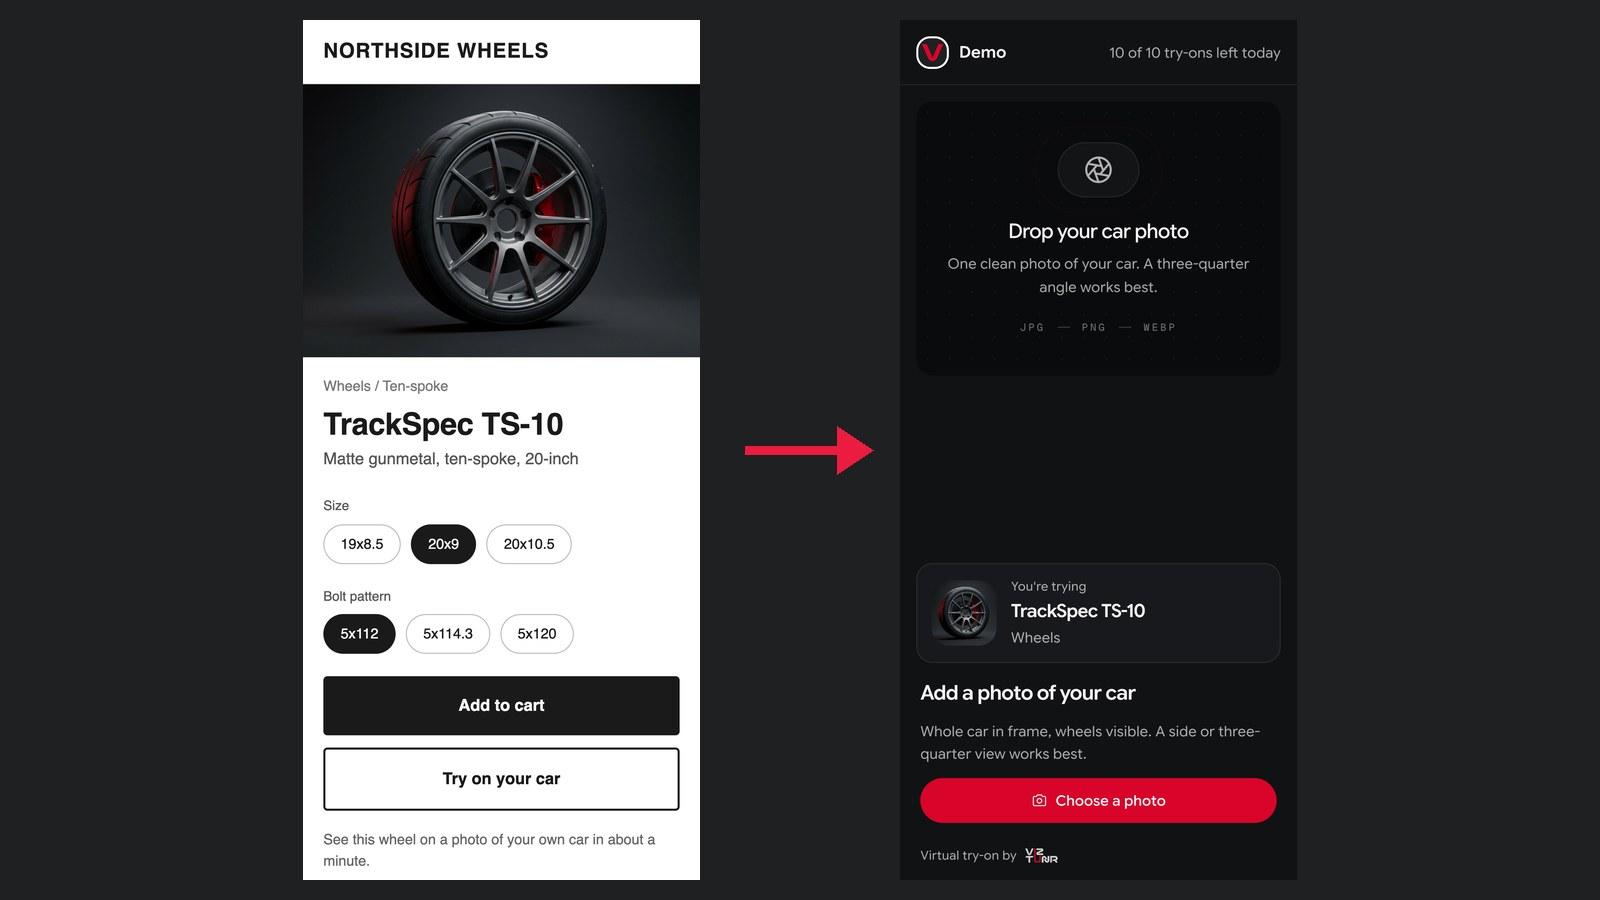
What a shopper gets: the product page on the left, and the page the button opens on the right. This is our demo shop; yours shows your name and logo.
If you see an error screen
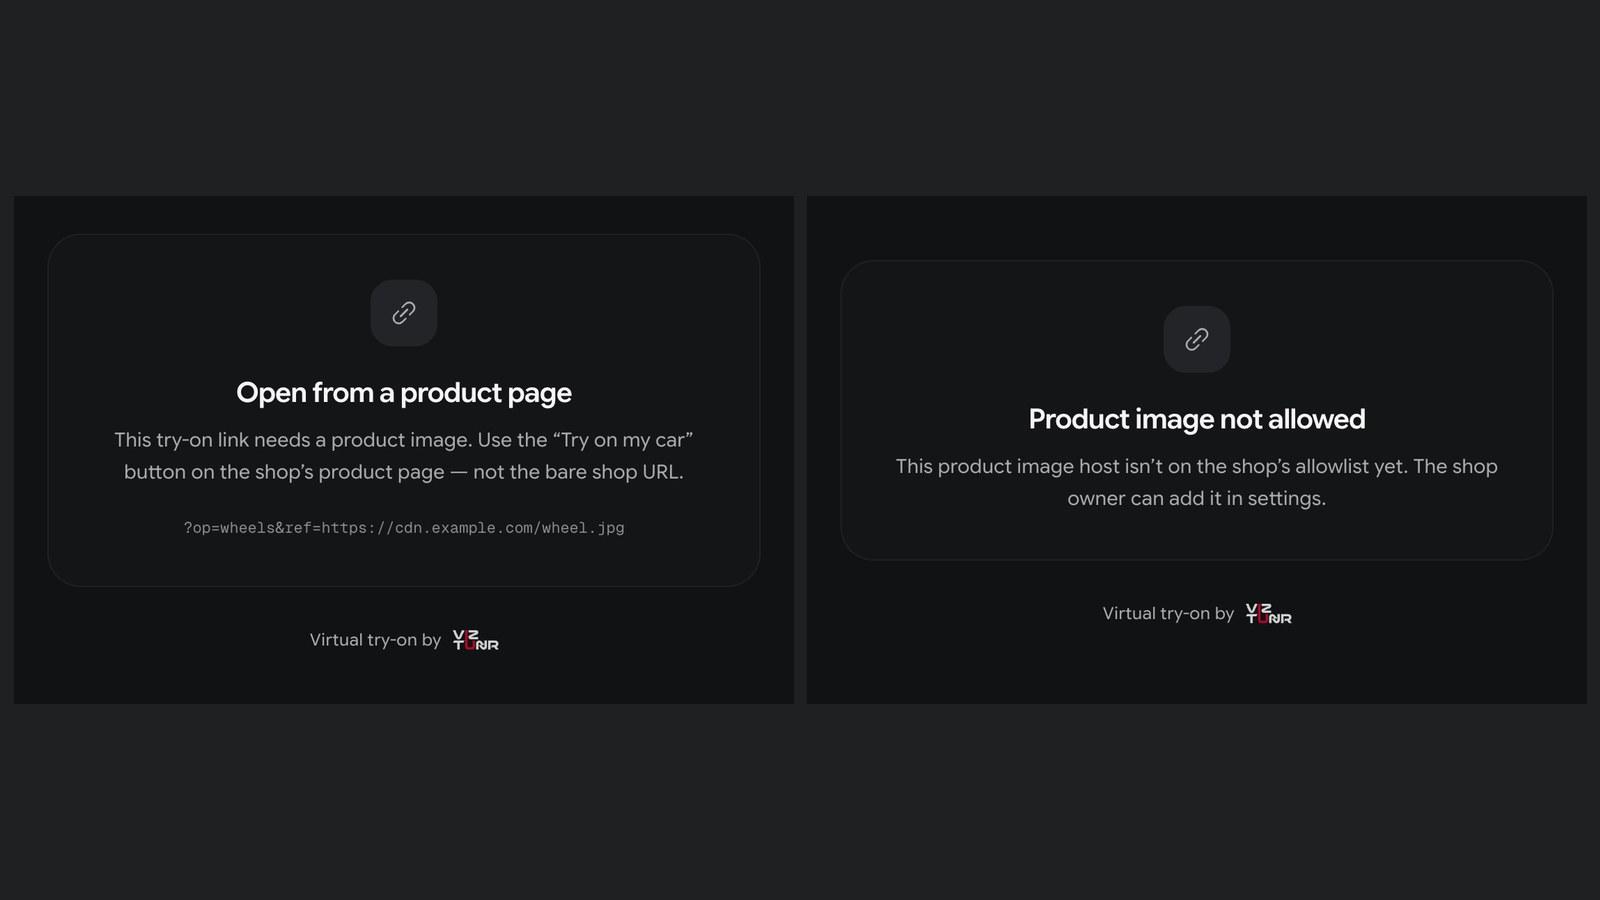
| What the shopper sees | What it means | Fix |
|---|---|---|
| Open from a product page | op or ref is missing or invalid | Use one of the four op values, and check that ref is a full HTTPS image URL |
| Product image not allowed | The photo's host isn't on your allowlist | Add that host in step 1 |
| Try-ons are paused | No active plan, or your renders have run out | Choose a plan or add renders; you'll see a private notice on that page |
If the page loads but the render fails, your image host may be refusing requests from other servers. Hotlink protection is the usual cause, so allow the image to be fetched or serve it from a host that doesn't block it.
What happens after the click
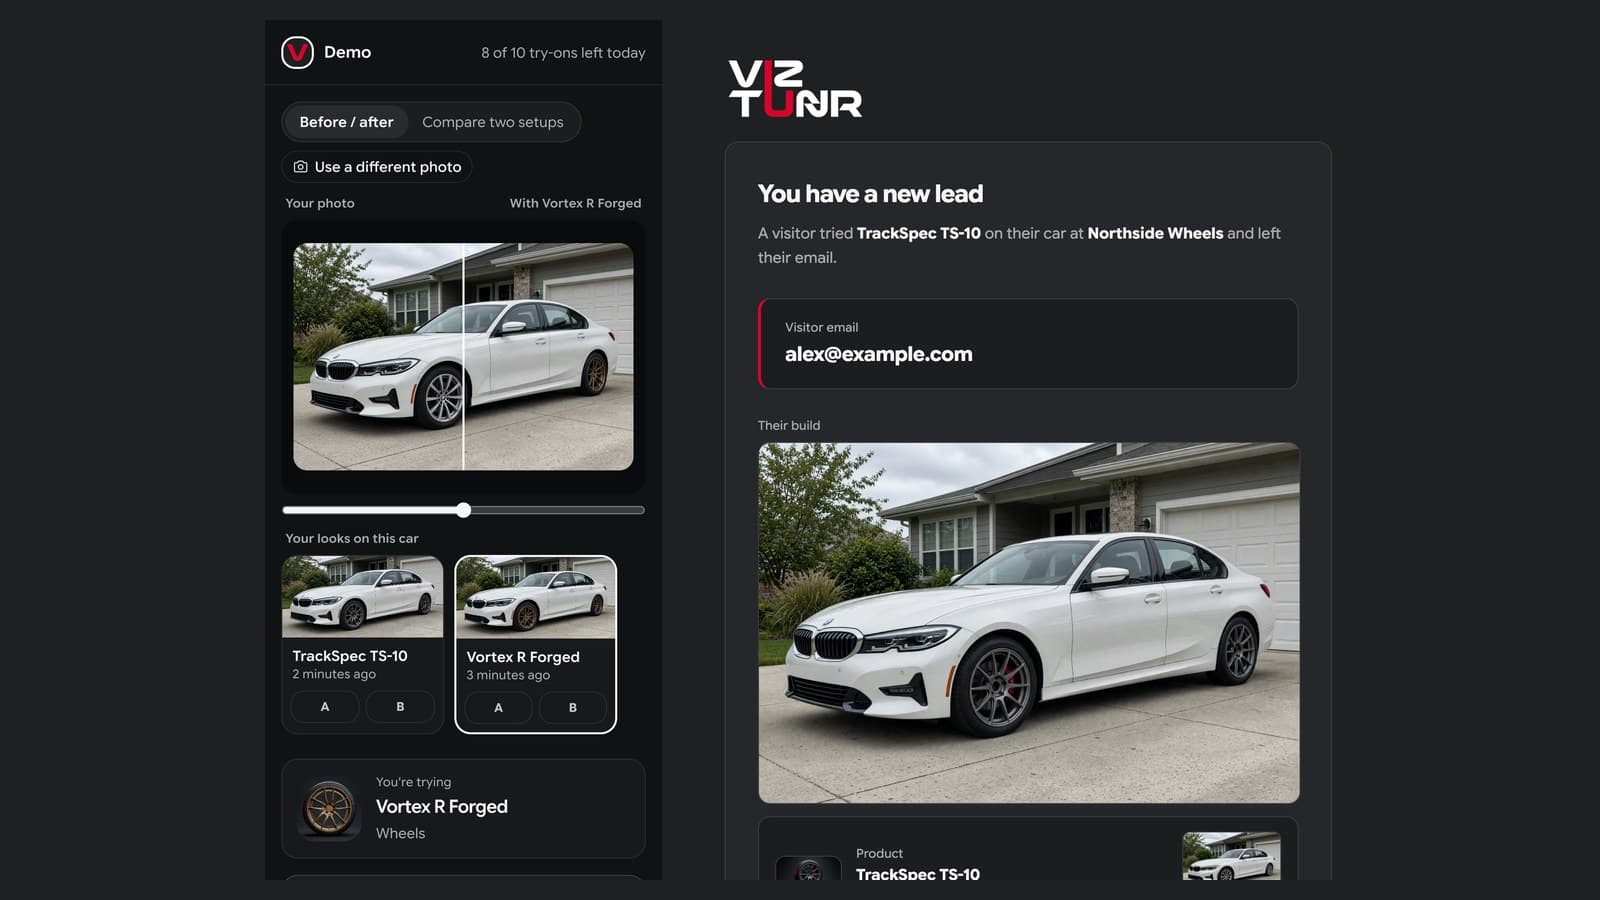
The shopper adds a photo, sees your wheel on their car and can compare it with others. If they ask for a quote, you get an email with their address and the render attached. We walked through that whole flow, with screenshots, in how wheel shops use AI renders to close sales.
Each try-on a shopper starts uses one render from your plan. Plans run from $49 a month for 200 renders to $199 for 1,100, and a daily limit per visitor (10 by default) keeps one person from using up your month. Details are on the pricing page.
See it before you set it up
Open the demo shop, pick a wheel and try it on a photo of any car. That's exactly what your customers will get from the button, with your name on it.
Virtual Try-OnWheel VisualizerWheel ShopShopifyWooCommerce
November 9, 2026 · 9 min readCategory: Try-It-On